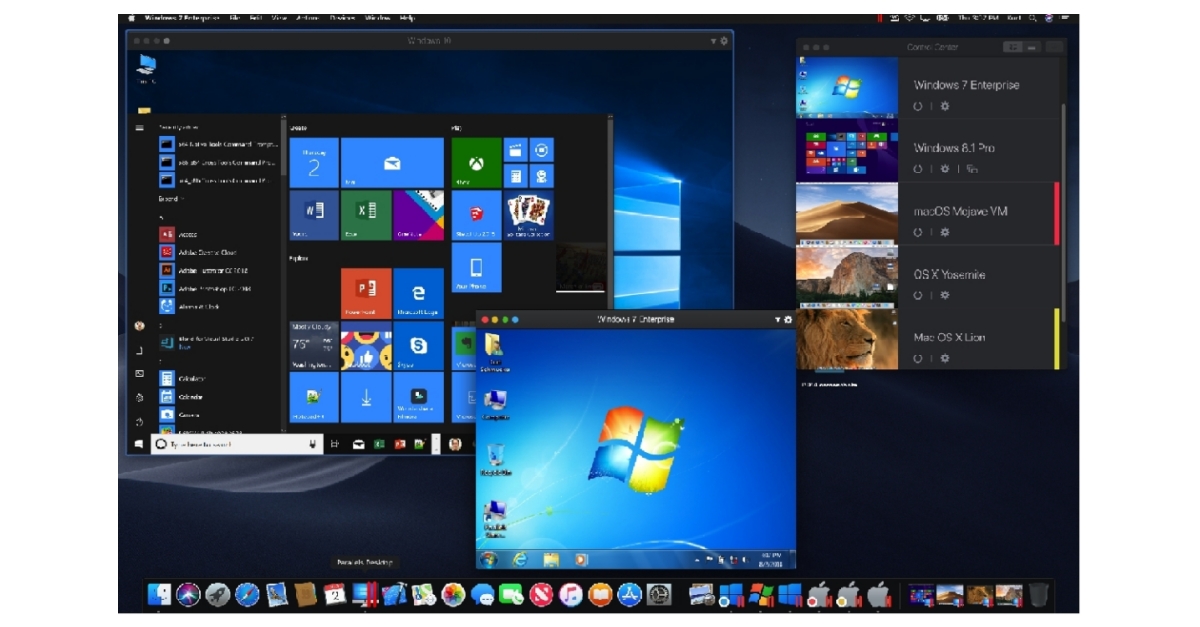
When macOS High Sierra was released around 25th September, I tried to install it in Parallels Desktop Lite. However, both a clean install in a Parallels Virtual Machine (VM), nor an in-place update did not work (the High Sierra VM would refuse to boot). I discovered the High Sierra installer converts the VM file system to Apple File System (APFS). However, Parallels does not support APFS, so here's how to disable the conversion and get High Sierra running in a Parallels.
I couldn't find any info on the Parallel's documentation except that one has to upgrade to Parallels Desktop 13 (paid) instead of Lite (free).
Method 1: Upgrade macOS Sierra VM to High Sierra
Parallels has an automated wizard that creates a macOS Sierra VM with absolutely no hassle. So, the easiest method to get a High Sierra VM is to upgrade from Sierra in-place.
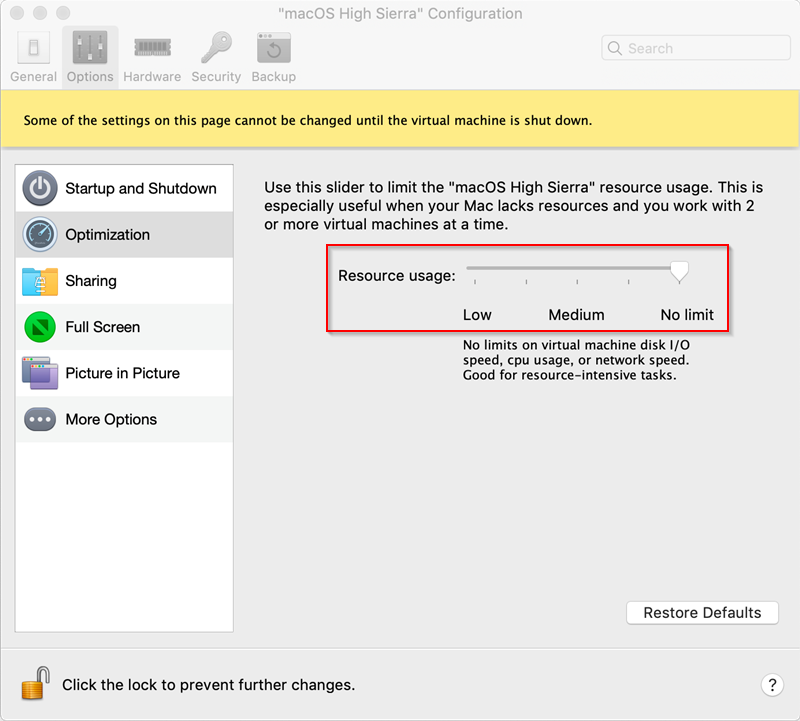
Programs such as Parallels Desktop, VMWare Fusion and VirtualBox allow you to create a virtual machine (VM), that runs on your Mac just like any other Mac app. With your VM shut down, Ctrl-click it and pick Configure. Under Options, select Optimization. Set Performance to ‘Faster virtual machine’, ‘Resource usage’ to ‘No limit’, and enable.
First, you need a running macOS Sierra VM running in Parallels Desktop Lite. See this post for guidance to setup a virtual macOS.
In the VM, download High Sierra from the Mac Store, or follow this URI macappstores://itunes.apple.com/app/id1246284741 The installer will be in
Applications(or copy a previously downloadedInstall macOS High Sierra.apptoApplicationsin the VM).Still in the VM, run
terminaland enter:
This will start the installation process, without converting to APFS!
The VM will reboot and if all goes well, congratulations! You are running High Sierra!
As always, don't blindly follow anything on the Internet - verify everything yourself!
In this case, check what the command does with /Applications/Install macOS High Sierra.app/Contents/Resources/startosinstall --usage
Method 2: Clean Install of macOS High Sierra VM
If you'd prefer not to upgrade in-place, then here's how to perform a clean install since the Parallels Wizard does not work.

To create a bootable virtual disk with the macOS High Sierra installer, I use the (slightly modified) script from How to create a Bootable ISO image of macOS 10.13 High Sierra installer by Tyler Woods. Without the script, you'll need to copy the installer to a USB or another disk to create the High Sierra boot disk.
As above, download High Sierra from the Mac Store, or follow this URI macappstores://itunes.apple.com/app/id1246284741. The installer will be in
Applications.Now, in
terminal, run this, which finally creates a file on the Desktop called 'HighSierra.iso'. Note that you'll be prompted 'If you wish to continue type (Y) then press return' - just do what it says.

Set virtual vmix free. As above, verify! Note the use of sudo (superuser) and rm (delete a file), so double verify!
Here, /Applications/Install macOS High Sierra.app/Contents/Resources/createinstallmedia --usage gives the output below, and note the last line that explains the use of sudo i.e. 'This tool must be run as root.':
The kind of output to expect is below:
- From Parallels, File > New, go ahead and create a new VM via 'Install Windows or another OS from a DVD or image file'.
- Hit Continue, then 'Locate Manually' and when prompted, drag and drop the ISO created in the previous step into the Wizard. Parallels will say 'Unable to detect Operating System,' since Parallels does not support High Sierra. That's ok, hit Continue and manually specify
macOS. I left all the settings as default.
Parallels Mac Os Vmware
- Before starting the VM, Configure it, and most importantly, under Boot Order, check 'Select boot device on start up'.
- Start the VM and you'll see a prompt 'Press any key to enter boot device menu'. So, press any key, and in the Boot Manager, boot from image by selecting EFI DVD/CDROM.
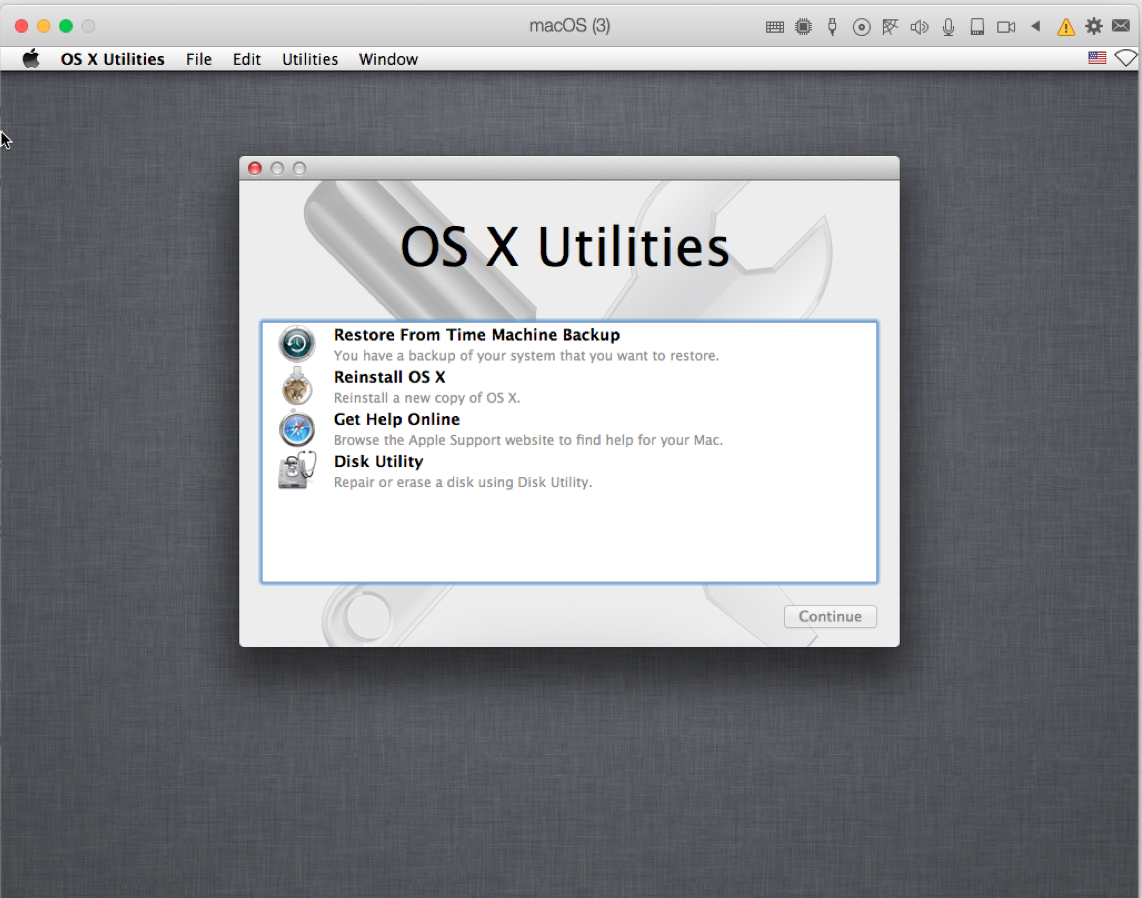
- Now, the installer will run, and you should be greeted with a window to select language. Keep going, and when prompted in the macOS Utilities menu, select
Install macOS, then choose to install to the singleMacintosh HD(don't worry, this is a virtual hard disk and not your main macOS).
- Now, the installer will copy a few files and reboot. Again, press any key to get to the Boot Manager, and select EFI DVD/CDROM. This time, from the macOS Utilities screen, select Utilities > Terminal from the menu instead.
- In the terminal, edit the file
minstallconfig.xml, to change<key>ConvertToAPFS</key><true/>to<key>ConvertToAPFS</key><false/>Here I'm usingvi:
vi is something you'll have to figure out separately. In short, press the arrow keys till the cursor is on the 't' in 'true' just under the line <key>ConvertToAPFS</key>. Press c, w, type false, press Esc, then type :wq to save and quit.
Parallels Mac Os Vm Download
Then from the menu Terminal > Quit Terminal. And you'll be back to the macOS Utilities menu. Now, hit the Apple menu, and Restart.
Again, press any key, but this time, select to boot from Mac OS X. The installer will install, and at some point, state 'Installing: About x minutes remaining'.

If you've gotten this far, then it's likely you'll get High Sierra running soon! But if you didn't, e.g. because step 9 couldn't boot from Mac OS, then it's you've missed a step, and the installer has gone ahead and converted the file system to APFS..
If this is the case, the VM will not boot to macOS. Instead, after a wait, you'll get a screen like this:

Conclusion
For a simple method to get High Sierra in Parallels, go with Method 1. However, it takes longer to upgrade, and requires more disk space.
Parallels Macos Mojave
For a clean install, try Method 2 which assumes a higher level of expertise. Good luck!
